Home / Projects / Health monitoring system for pregnant women in rural areas
Health monitoring system for pregnant women in rural areas
500 Reviews
This is a prototype of a health monitor that is used to monitor spO2 level, BPM and body temperature for people in rural areas
N23,535.00
-Products


In today’s world, health monitoring is a major issue. Patients suffer from serious health problems as a result of a lack of proper health monitoring. There are many IoT devices available these days to monitor a patient’s health over the internet. Health professionals are also using these smart devices to keep tabs on their patients. IoT is rapidly revolutionizing the healthcare industry, with hundreds of new healthcare technology start-ups using patient health monitoring system
In this project, we will create an IOT-based Health Monitoring System that will record the patient’s pulse rate and surrounding temperature. This system not only record these data but also update them in IOT platform. The IOT platform used in this project is Blynk. Blynk is an open-source Internet of Things (IoT) application and API to store and retrieve data from things using the HTTP protocol over the Internet or via a Local Area Network
-
SUPPLIES -
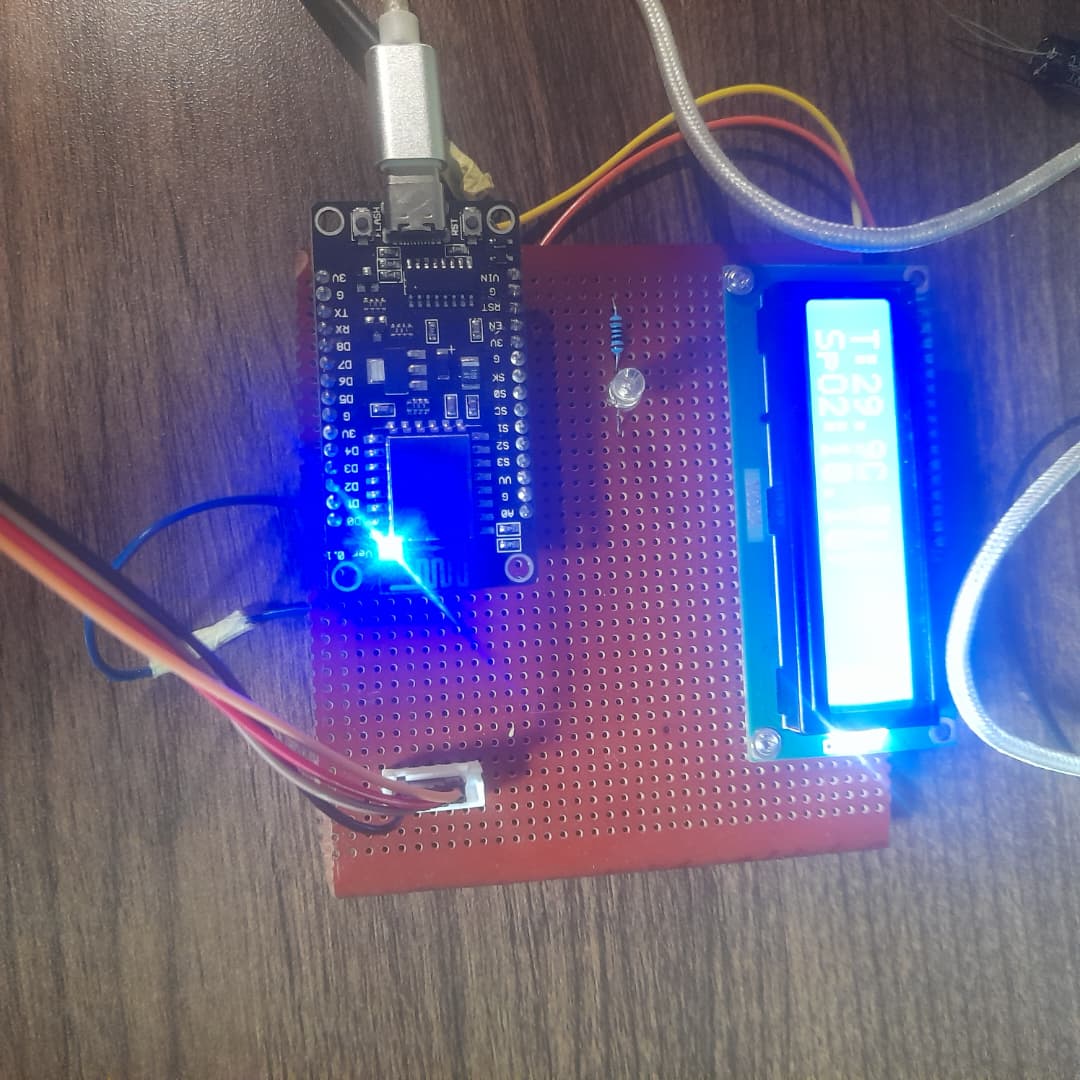
- ESP8266 nodeMcu wifi module
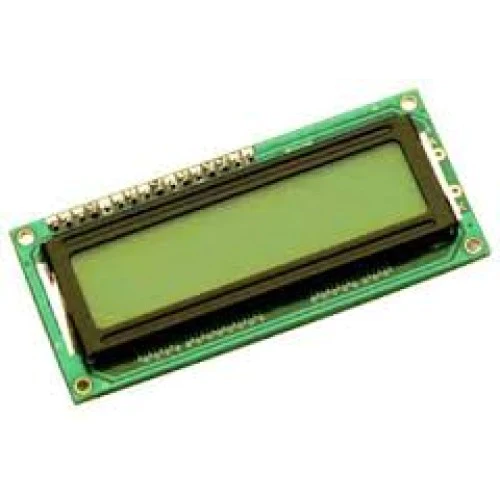
- 16x2 LCD display
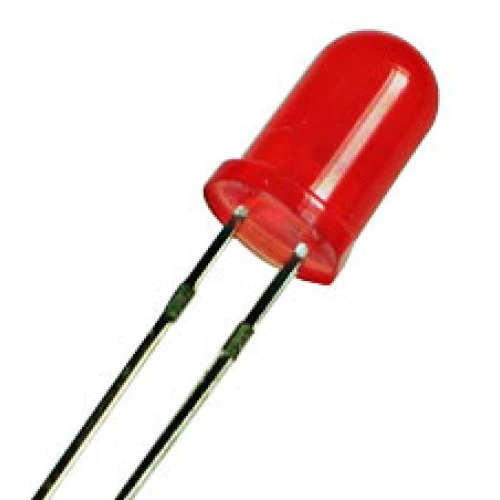
- red LED
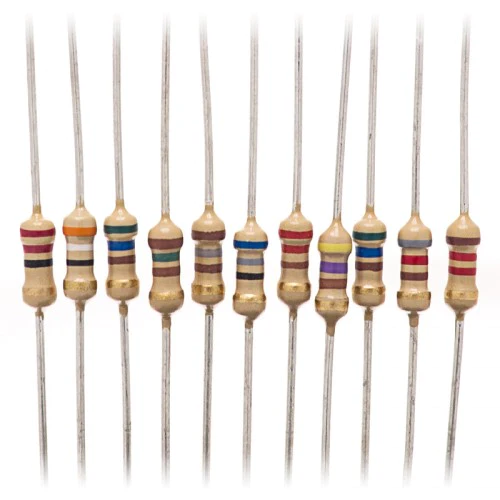
- 4.7K resistor
- max30102/30100 heart rate sensor
- female headers(x1)
- DS18B20 waterproof temperature sensor
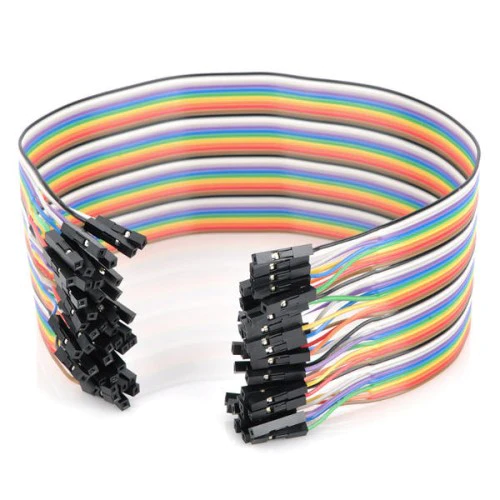
- female jumper cables
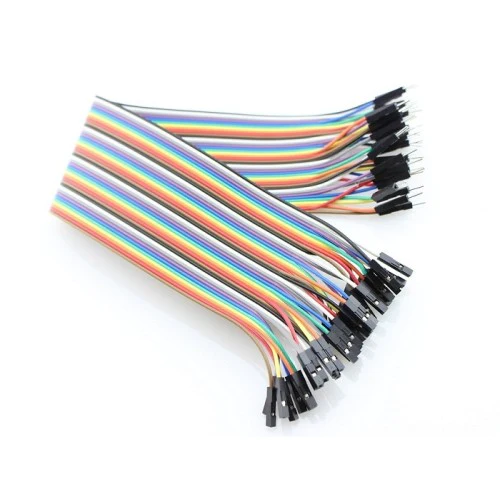
- male jumper cables
- 220 ohm resistor
WHAT IS MAX30102 HEART RATE SENSOR?
The MAX30102 is an integrated pulse oximetry and heart-rate monitor sensor module, commonly used in wearable devices and fitness trackers. It utilizes optical sensing to measure heart rate and blood oxygen saturation (SpO2) by detecting the absorbance of light through pulsating blood. This module is designed for ease of integration into various applications, featuring a standard I2C interface for communication and low power consumption.
WHAT IS ESP8266 WIFI MODULE?
The ESP8266 is a simple and inexpensive device for providing internet connectivity to your projects. Because the module can function as both an access point (which can create a hotspot) and a station (which can connect to Wi-Fi), it can easily fetch data and upload it to the internet, making the Internet of Things as simple as possible. It can also retrieve data from the internet via APIs, allowing your project to access any information available on the internet, making it smarter. Another intriguing feature of this module is that it can be programmed using the Arduino IDE, making it much more user-friendly.
-
CONNECTION -
-
The SDA of the LCD display and max30102 sensor is connected to pin D2 of the esp8266 board
-
The SCL of the LCD display and max30102 sensor is connected to pin D1 of the esp8266 board
-
ALL grounds are connected together
-
The vcc pin of the LCD is connected to VIN pin of the eps8266 board and max30102 sensor
-
The yellow wire of the ds18b20 temperature sensor is connected to pin D5 on the eps8266 board ( the yellow wire of this sensor is connected to the red(live wire with the 4.7k resistor))
-
The led is connceted through a ressitor to pin D4 on the esp8266 board
-
CODE - #include <Wire.h> #include <MAX30105.h> #include <LiquidCrystal_PCF8574.h> #include <ESP8266WiFi.h> #include <BlynkSimpleEsp8266.h> #include <OneWire.h> #include <DallasTemperature.h>
int LedRed = D4;
#define ONE_WIRE_BUS D5 // Pin where the DS18B20 is connected OneWire oneWire(ONE_WIRE_BUS); DallasTemperature sensors(&oneWire);
LiquidCrystal_PCF8574 lcd(0x27);
char auth[] = "uKprF7zKYAm-icZp-AEwInujTxnelyzj"; char ssid[] = "Prateek"; char pass[] = "justdoelectronics@#12345";
BlynkTimer timer; MAX30105 particleSensor;
void setup() { Serial.begin(115200);
pinMode( LedRed, OUTPUT); Wire.begin(); sensors.begin(); lcd.begin(16, 2); lcd.setBacklight(255); Blynk.begin(auth, ssid, pass, "blynk.cloud", 80);
Serial.println("Initializing MAX30102 sensor..."); if (!particleSensor.begin(Wire, I2C_SPEED_STANDARD)) { Serial.println("MAX30102 not detected. Please check wiring/power."); while (1); } particleSensor.setup(); // Initialize sensor with default settings }
void loop() { Blynk.run(); particleSensor.check(); // Poll the sensor for new data
// Collect DS18B20 temperature data sensors.requestTemperatures(); float temperature = sensors.getTempCByIndex(0);
// Collect MAX30102 raw data float irValue = particleSensor.getIR(); float redValue = particleSensor.getRed();
// Limit the values to 3 digits after decimal irValue = (int)(irValue * 1) / 1000.0; // Keeps only 3 digits after decimal redValue = (int)(redValue * 1) / 1000.0; // Keeps only 3 digits after decimal
// Display on LCD lcd.setCursor(0, 0); lcd.print("T:"); lcd.print(temperature, 1); lcd.print("C"); lcd.setCursor(8, 0); lcd.print("B:"); lcd.print(irValue, 3); // Display 3 digits after decimal lcd.setCursor(0, 1); lcd.print("SpO2:"); lcd.print(redValue, 3); // Display 3 digits after decimal
// Send to Blynk Blynk.virtualWrite(V2, temperature); Blynk.virtualWrite(V0, redValue); Blynk.virtualWrite(V1, irValue);
// Debug output Serial.print("Temp: "); Serial.print(temperature); Serial.print(" C, BPM: "); Serial.print(irValue); Serial.print(", Spo2: "); Serial.println(redValue); delay(700); lcd.clear();
if(LedRed >= 45){ digitalWrite(LedRed, HIGH); } else{ digitalWrite(LedRed, LOW); } }
Reviews(10)
5.0
66%
4.0
33%
3.0
16%
2.0
8%
1.0
6%
No reviews yet. Be the first to add a review!