Home / Projects / How To Control a Stepper Motor Using Arduino
How To Control a Stepper Motor Using Arduino
500 Reviews
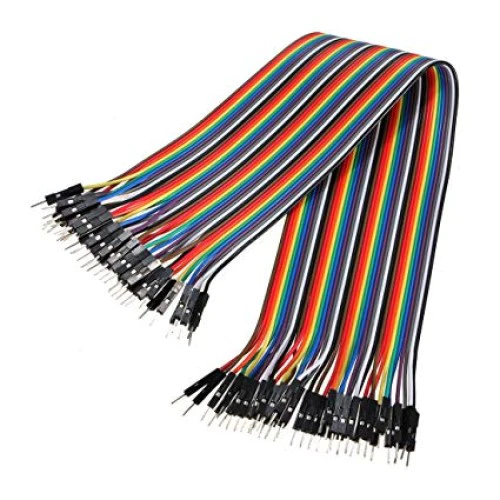
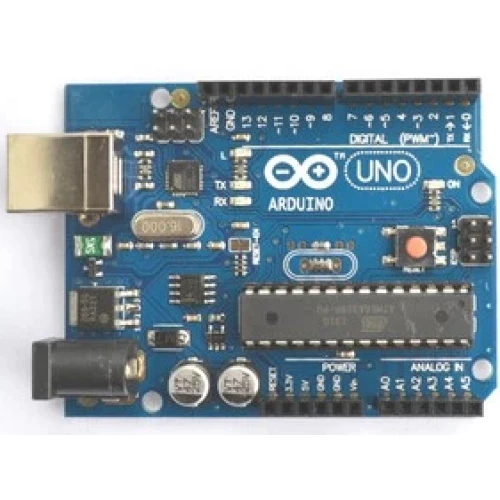
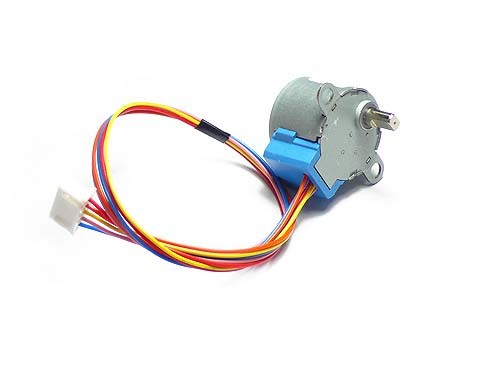
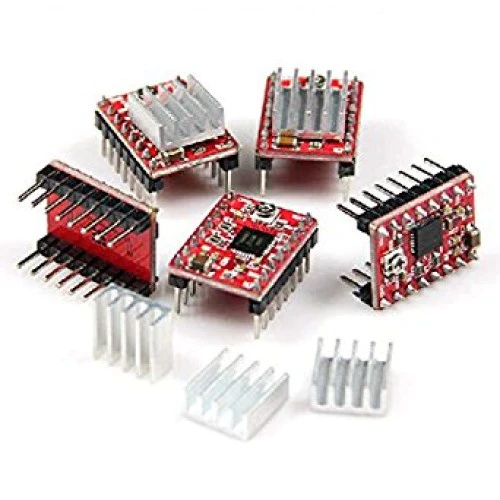
Ready to create a project where precision is everything—like a robotic arm, a CNC machine, or a 3D printer? Of all the motor options out there, stepper motors are the best candidates for the job! Unlike their wild cousins, the DC motors, which just spin like they’ve had too much coffee, stepper motors move with purpose, one carefully measured step at a time. That’s what makes them the go-to choice for projects where accuracy isn’t just important—it’s essential. Today, I’m introducing you to the world of stepper motors with the 28BYJ-48—a budget-friendly favorite you’ll find in nearly every Arduino starter kit—and its handy sidekick, the ULN2003 motor driver. I’ll show you how to wire a stepper motor and motor driver to an Arduino Uno, power it correctly, and write a simple Arduino sketch to control the speed and direction of your stepper motor, and maybe even get it to perform a few graceful (albeit mechanical) pirouettes. By the end of this stepper motor tutorial, you’ll have a fully operational stepper motor setup and the know-how to take on bigger, more ambitious Arduino projects. So, are you ready to take the first…step? What is a Stepper Motor? When it comes to motors, the stepper motor is the refined member of the family. Unlike DC motors that just spin endlessly or servos that stick to limited angles, stepper motors are all about precision and control. They move in defined steps, making them perfect for tasks that demand accuracy, like plotting a straight line or positioning a 3D printer nozzle. How Do Stepper Motors Work? Inside a stepper motor, you’ll find two key parts: The Rotor: This is the part that spins, typically a magnet or a piece of iron. The Stator: Surrounding the rotor, the stator has coils of wire (electromagnets) that create magnetic fields to pull the rotor into position. When you send electrical pulses to these coils in a specific sequence, the rotor moves to align with the active magnetic field. Each pulse moves the rotor a fixed amount—a “step.” By controlling the sequence and timing of these pulses, you can make the motor move forward, backward, or hold its position. Think of it like the motor equivalent of walking instead of running—it’s slower, but you’ll never miss your destination. Meet the 28BYJ-48 Stepper Motor If stepper motors had a class clown, the 28BYJ-48 would win the title. It’s cheap, cheerful, and shows up in almost every Arduino starter kit, making it the go-to stepper motor for beginners and tinkerers alike. It might not win any awards for raw power, but when it comes to learning the ropes of stepper motors, this little guy is a great start. Key Specs of the 28BYJ-48 The 28BYJ-48 is a 5-wire unipolar stepper motor with a built-in gearbox. Let’s get into the nitty-gritty of what makes this stepper motor tick: Voltage: Operates on 5V, but as tempting as it may be, don’t try to power it directly from your Arduino. Current Draw: Around 240 mA. Although the Arduino 5V and Vin pins can handle this, you’d be taking a risk if it spikes above that so it’s best to get into the habit of using an external power source. Steps per Revolution: The motor has 32 steps per revolution for the rotor. But thanks to the gearbox’s 64:1 reduction ratio, it takes 2048 steps for the output shaft to complete a full turn. This makes it incredibly precise. Torque: Rated at approximately 34.3 mN.m. Translation? It’s great for light-duty applications like spinning a dial or pointing an indicator but don’t expect it to lift a brick. Speed: Around 15 RPM. It’s like the tortoise—slow but precise. Great for applications where accuracy beats speed. Gear Reduction: A built-in 64:1 gearbox gives it that precision by sacrificing raw speed, ensuring tiny, smooth movements. If you’ve bought an Arduino starter kit, chances are you already own this stepper motor. And if not, you can snag one for the cost of a fancy coffee. It’s the perfect introduction to the world of stepper motors—simple enough to get started but flexible enough to teach you the fundamentals of precise motor control. The ULN203 Motor Driver: Your Stepper Motor’s Sidekick If the 28BYJ-48 stepper motor is the hero of your Arduino project, the ULN2003 motor driver is its loyal sidekick, quietly handling the power requirements and carrying out the master plan behind the scenes. This little board is the reason your Arduino doesn’t fry while attempting to control your stepper motor—and trust me, your Arduino will thank you for using it. The ULN2003 motor driver used to control speed and direction of the 28BYJ-48 stepper motor with Arduino. What is the ULN2003 Motor Driver? The ULN2003 is a darlington transistor array that acts as a bridge between your Arduino and your stepper motor. Arduino pins can’t supply the voltage or current needed to drive motors directly, so the ULN2003 steps in to handle the power requirements while keeping your Arduino safe from overloads. Key features of the ULN2003 motor driver include: Voltage Handling: Supports 5V and even up to 12V stepper motors. Current Capability: Can handle up to 500 mA per channel, which is more than enough for the 28BYJ-48. Integrated Diodes: Protects against pesky voltage spikes that could damage your stepper motor or Arduino. Simple Interface: The board comes with easy-to-use pin headers for quick connections to the Arduino and a plastic connector that matches up exactly with the corresponding one already attached to your stepper motor’s wires. Why can’t you just connect the stepper motor to the Arduino directly? Stepper motors like the 28BYJ-48 demand more power than an Arduino pin can deliver. Here’s why the ULN2003 is a must: Power Delivery: It supplies the right voltage and current to your stepper motor without overloading your Arduino. Signal Translation: Converts low-power control signals from the Arduino into the high-power pulses needed to drive the motor coils. Safety First: Protects both your Arduino and your stepper motor from electrical mishaps, thanks to built-in protection features. ULN2003 Pinout: How Does it Work? The ULN2003 board connects to both your Arduino and the stepper motor: Input Pins (IN1–IN4): These connect to your Arduino and receive control signals. Output Pins: These feed power to the stepper motor’s coils. They’re embedded in a plastic connector that matches up with the one on your stepper motor. Power Pins: A 5V input powers the stepper motor and driver board, with a ground connection shared with the Arduino. Indicator LEDs: These handy lights show which coil is currently active—great for troubleshooting. When you send signals from the Arduino to the ULN2003, it energizes the motor coils in a specific sequence, making the motor step forward or backward. The ULN2003 takes care of the timing, current, and voltage so you can focus on your code. Alright, enough with the tech talk—let’s roll up our sleeves and wire everything together so we can jump into the fun part: writing code to get this motor stepping like it’s auditioning for Dancing with the Circuits! How to Wire 28BYJ-48 Stepper Motor & ULN2003 Driver to an Arduino Wiring up all three of these components so they talk to each other is simpler than assembling Ikea furniture (and no missing parts here). Let’s get that 28BYJ-48 motor connected to your Arduino using the ULN2003 driver, one wire at a time. A wiring diagram showing how to wire a 28BYJ-48 stepper motor and ULN2003 motor driver module to an Arduino Uno and power the driver module and stepper motor with an external power supply. Step 1: Connect the Stepper Motor to the ULN2003 Motor Driver Plug the 5-pin plastic connector from the 28BYJ-48 into the header labeled “Motor” on the ULN2003 driver board. It only fits one way, so you can’t mess this up! That’s it for the stepper motor connections. Not bad so far, right? Step 2: Connect the ULN2003 to the Arduino Use female-to-male jumper wires to connect the input pins on the ULN2003 to your Arduino: ULN2003 MOTOR DRIVER ARDUINO UNO IN1 8 IN2 9 IN3 10 IN4 11 These connections send control signals from the Arduino to the driver board. Step 3: Power the ULN2003 When it comes to giving your 28BYJ-48 stepper motor the juice it needs, you’ve got a couple of solid options: batteries or a wall adapter. Unless your project needs to be portable, I’m a big fan of using a trusty 5V 2A wall adapter to power these stepper motors. Why? Because stepper motors are like energy vampires—they draw power even when they’re just sitting still, holding their position. If you’re running on batteries, that drain can add up fast. To keep things neat and hassle-free, I use a female jack adapter with jumper wires. It’s an easy way to connect the power supply to the ULN2003 motor driver without any fuss. Just don’t forget the golden rule of wiring: everyone needs a ground! Run a ground wire from the negative screw terminal of the jack adapter to the Arduino’s ground. Alternatively, you can use a breadboard to make the ground connections between the Arduino and external power supply (like in the video and wiring diagram above). If the Arduino, motor driver, and power supply aren’t all sharing a common ground, your setup will sit there like it’s on strike—no movement, no fun. Now that everything’s wired up, let’s get that stepper motor spinning like a figure skater on ice …but much slower. Arduino Code : Rotate Stepper Motor One Full Revolution in Each Direction Get ready for the fun stuff—coding! Below is an Arduino sketch that will rotate the 28BYJ-48 one full revolution clockwise, pause, and then spin it back counterclockwise. It’s like teaching your motor the cha-cha: forward, back, and repeat. If this is your first time working with code, don’t sweat it—I’ll break it down line by line so you’ll know exactly what’s happening and how you can tweak it to make your stepper motor dance to your tune. Arduino Code Explanation #include <Stepper.h> This brings in the Stepper library, which is like the cheat sheet for controlling stepper motors. It saves you from having to write all the complex math and timing code yourself. You can either type this line in as you see it or include it automatically by going to Sketch -> Include Library -> Stepper. int stepsPerRevolution = 2048; Here, we’re defining how many steps it takes for our stepper motor to make one full 360-degree rotation. For the 28BYJ-48, this is 2048. If you’re using a different stepper motor, you’ll need to change this number. int rpm = 10; We’re setting the speed of the motor in revolutions per minute (RPM). You can adjust this to make your motor spin faster or slower. A higher number means it zips around; a lower number means it gracefully glides. Stepper myStepper (stepsPerRevolution, 8, 10, 9, 11); This initializes the Stepper object. It tells the Arduino, “Hey, I’m controlling a stepper motor with these specs and its name is myStepper.” stepsPerRevolution: How many steps for a full turn, which we defined above as 2048. 8, 10, 9, 11: The pins connected to IN1, IN3, IN2, and IN4 on the ULN2003. Yes, the order matters! Follow this or your stepper motor might move in…creative ways. void setup() The setup function runs once when you power up or reset your Arduino. This is where you prep your motor for action. myStepper.setSpeed(rpm); Here, we tell the stepper motor how fast to spin based on the rpm value we defined earlier. void loop() The loop function is where the magic happens—it runs over and over again, keeping your stepper motor in motion. myStepper.step(stepsPerRevolution); This command tells the stepper motor to step forward by the number of steps needed for one full revolution (2048 in our case). Clockwise, here we go! delay(500); After completing one rotation, we pause for 500 milliseconds (half a second) to let the motor catch its breath—or, more accurately, to give you time to admire its handiwork. myStepper.step(-stepsPerRevolution); Here’s the cha-cha! This command moves the stepper motor backward (counterclockwise) by one full revolution. The negative sign tells it to reverse direction. delay(500); Another 500-millisecond pause before the loop starts over, giving you a nice, predictable rhythm. Tweak the Arduino Code to Make it Yours Change the speed: Want it to spin faster? Try increasing rpm. But be cautious—stepper motors have limits, and going too fast might cause missed steps. Adjust the pauses: Experiment with different delay() values to speed things up or slow them down. Partial rotations: Want just half a revolution? Use stepsPerRevolution / 2 and -stepsPerRevolution / 2.
N24,720.00
-Products
#include <Stepper.h>
// # steps for full 360-degree rotation, change to fit your motor int stepsPerRevolution = 2048;
// set a speed for the stepper motor int rpm = 10;
// initialize stepper library on pins 8 - 11 // pin order IN1, IN3, IN2, IN4 Stepper myStepper (stepsPerRevolution, 8, 10, 9, 11);
void setup() { myStepper.setSpeed(rpm); }
void loop() { // make a full revolution in one direction myStepper.step(stepsPerRevolution); delay(500);
// make a full revolution in the opposite direction myStepper.step(-stepsPerRevolution); delay(500); }


Reviews(10)
5.0
66%
4.0
33%
3.0
16%
2.0
8%
1.0
6%
No reviews yet. Be the first to add a review!
