Home / Projects / Humanoid Robot
Humanoid Robot
500 Reviews
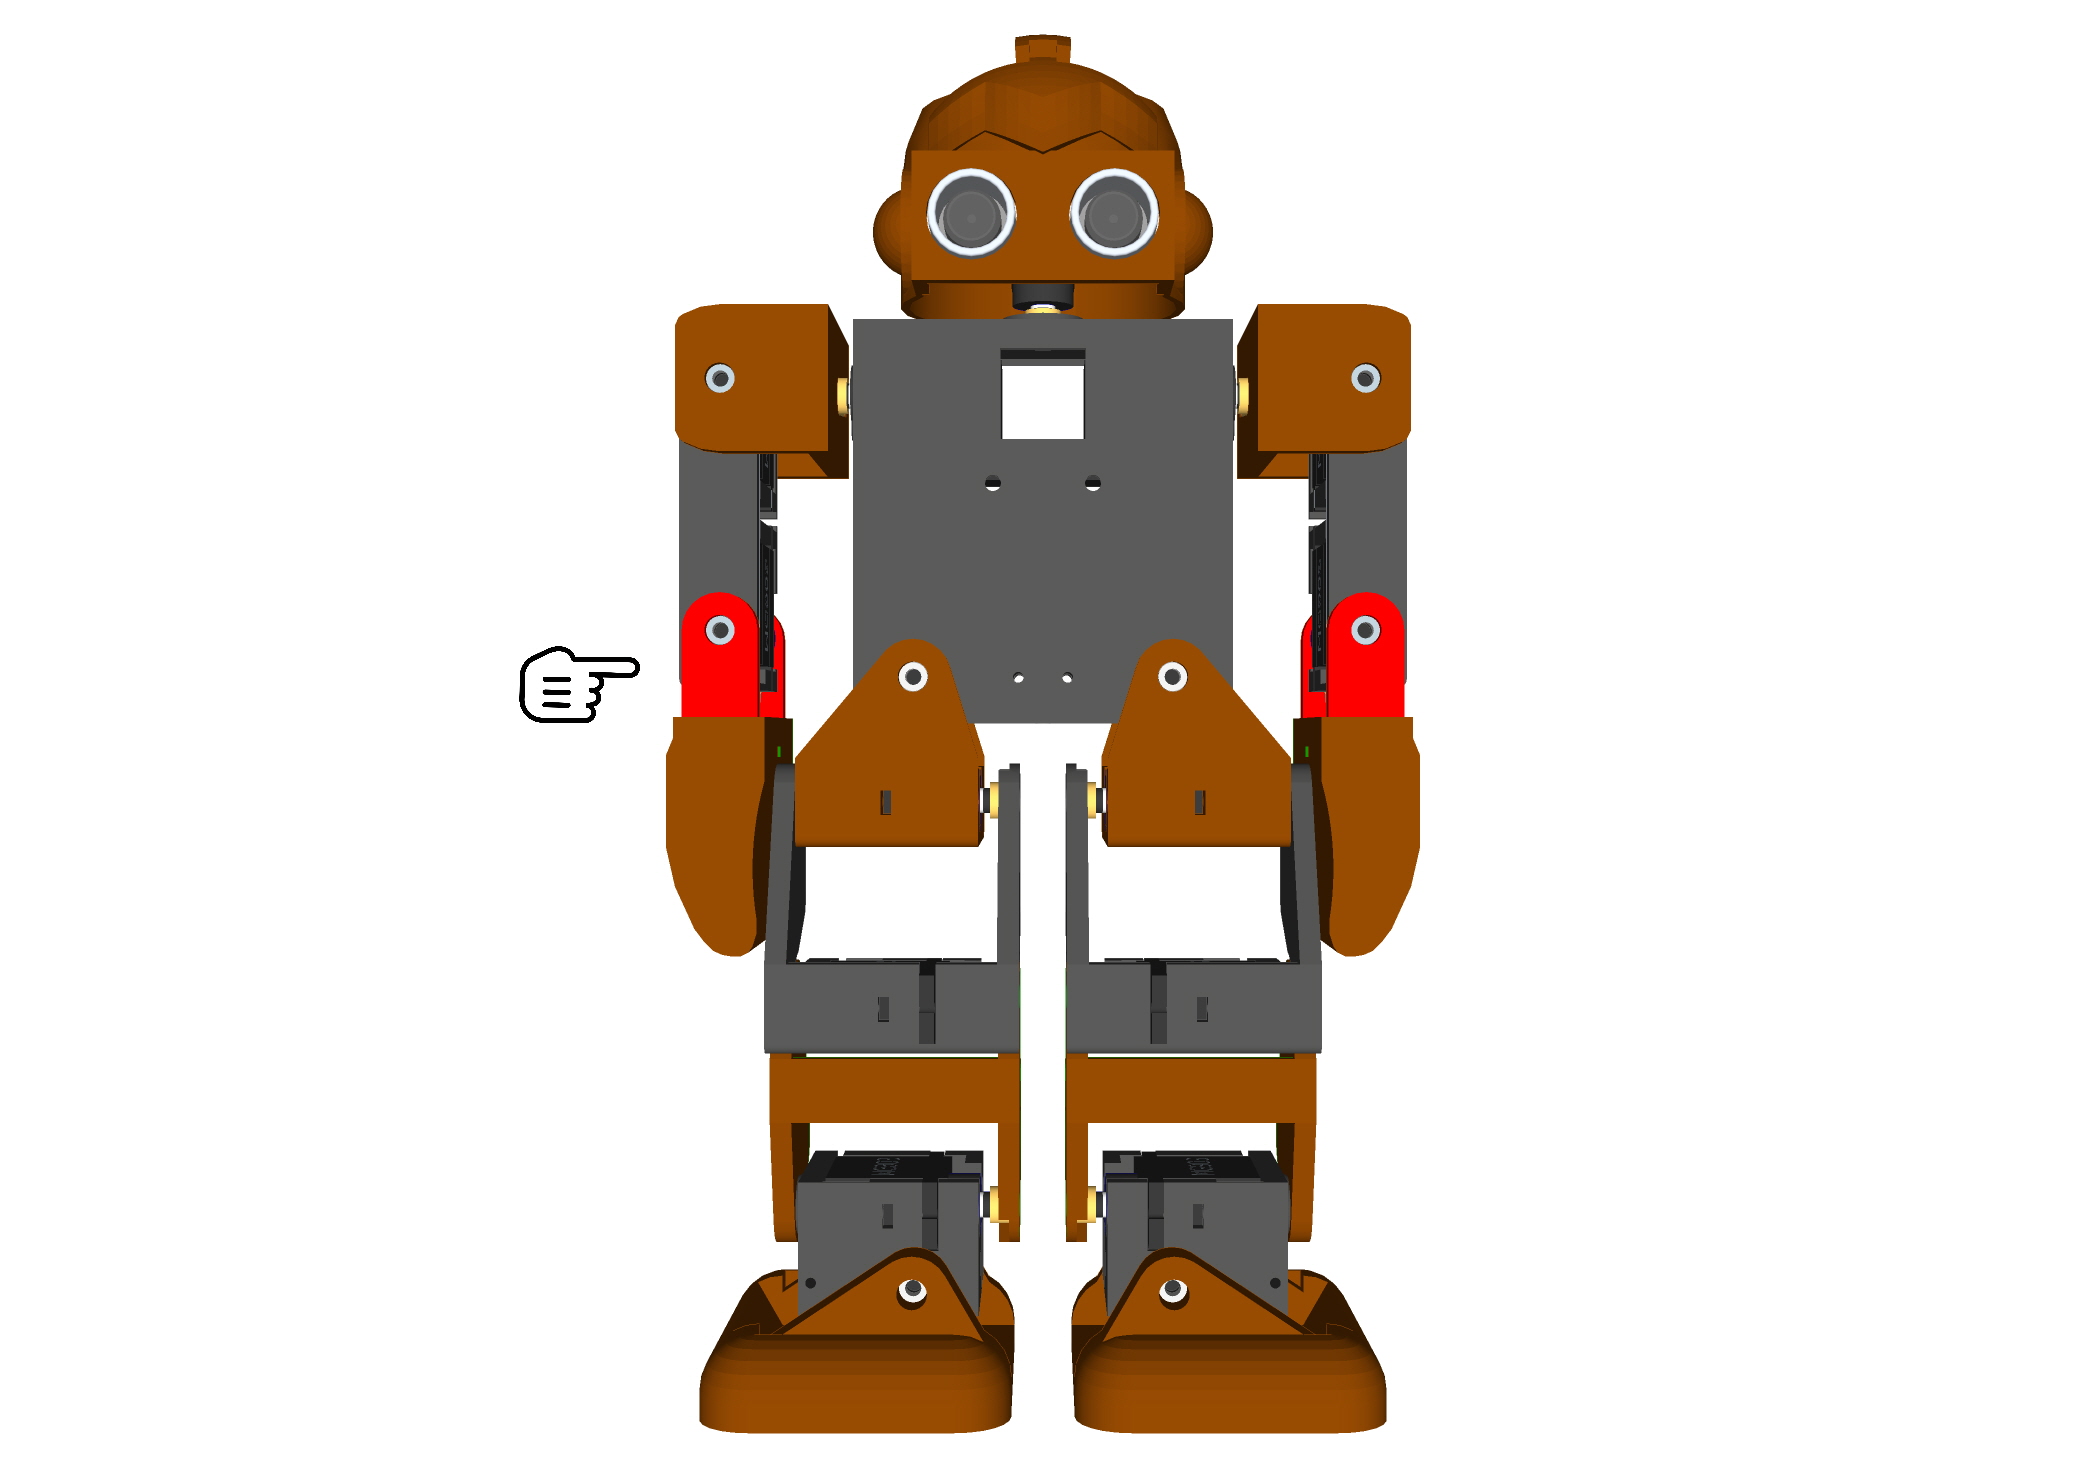
SIMPLE HUMANOID ROBOT :This instructable will be about making a humanoid walking robot that uses Arduino and can walk, jump and do some dances.
N29,799.00
-Products


The thing that is different in this robot compared to other humanoid robots is that while others use several high torque (expensive) servos, this robot only uses 2 (micro) servos per leg. This makes the robot easy to create, code and also cheap to make. This robot can be made as a beginners robot to introduce yourself to the field of robotics. Let's get into making the robot.
Step 1: Tools and Material Required
The bill of materials is as follows:
-
Micro Servo or any other.
-
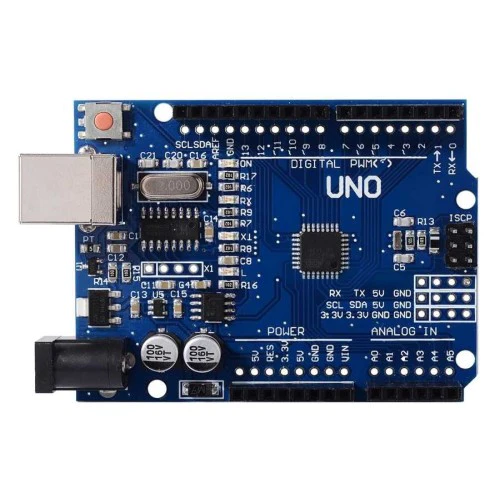
Arduino UNO (you can use other models but keep in mind that using other models may affect stability).
-
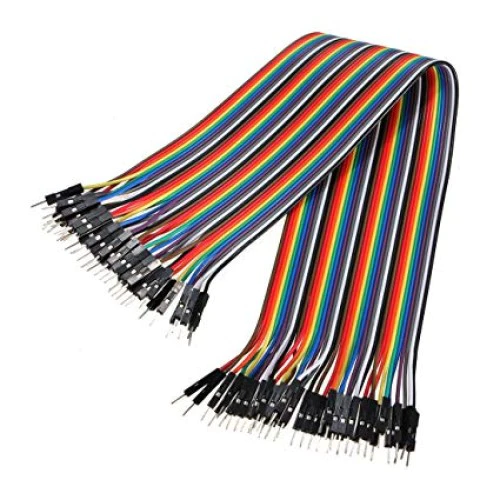
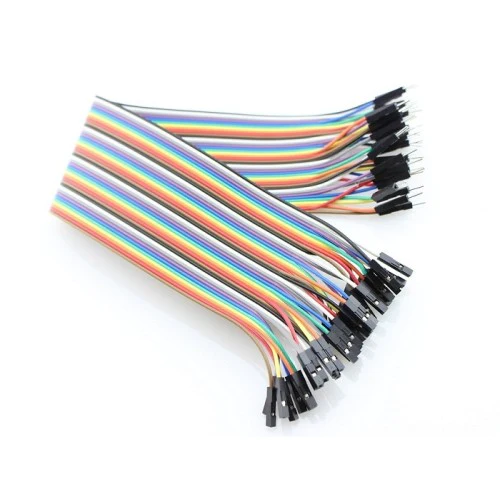
Wires. (m-m, m-f wires)
-
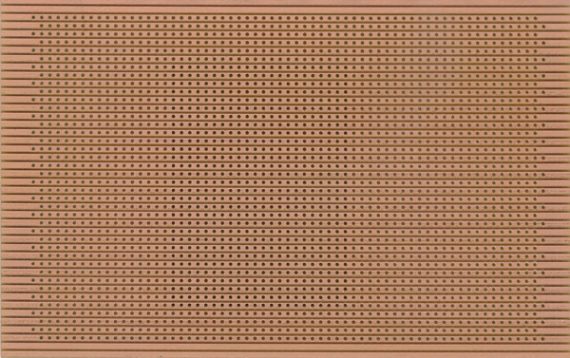
Perfboard.
-
Thin sheet wood (2 pieces measuring 6.2 x 4.6 cm). This measurement can vary if you are using any other type of servos.
-
Cardboard
The required tools include:
Soldering Iron (with solder).
Hot Glue gun.
Cutter.
Hacksaw (to cut wood).
Printer cable for Arduino.
** Preparing Servos**
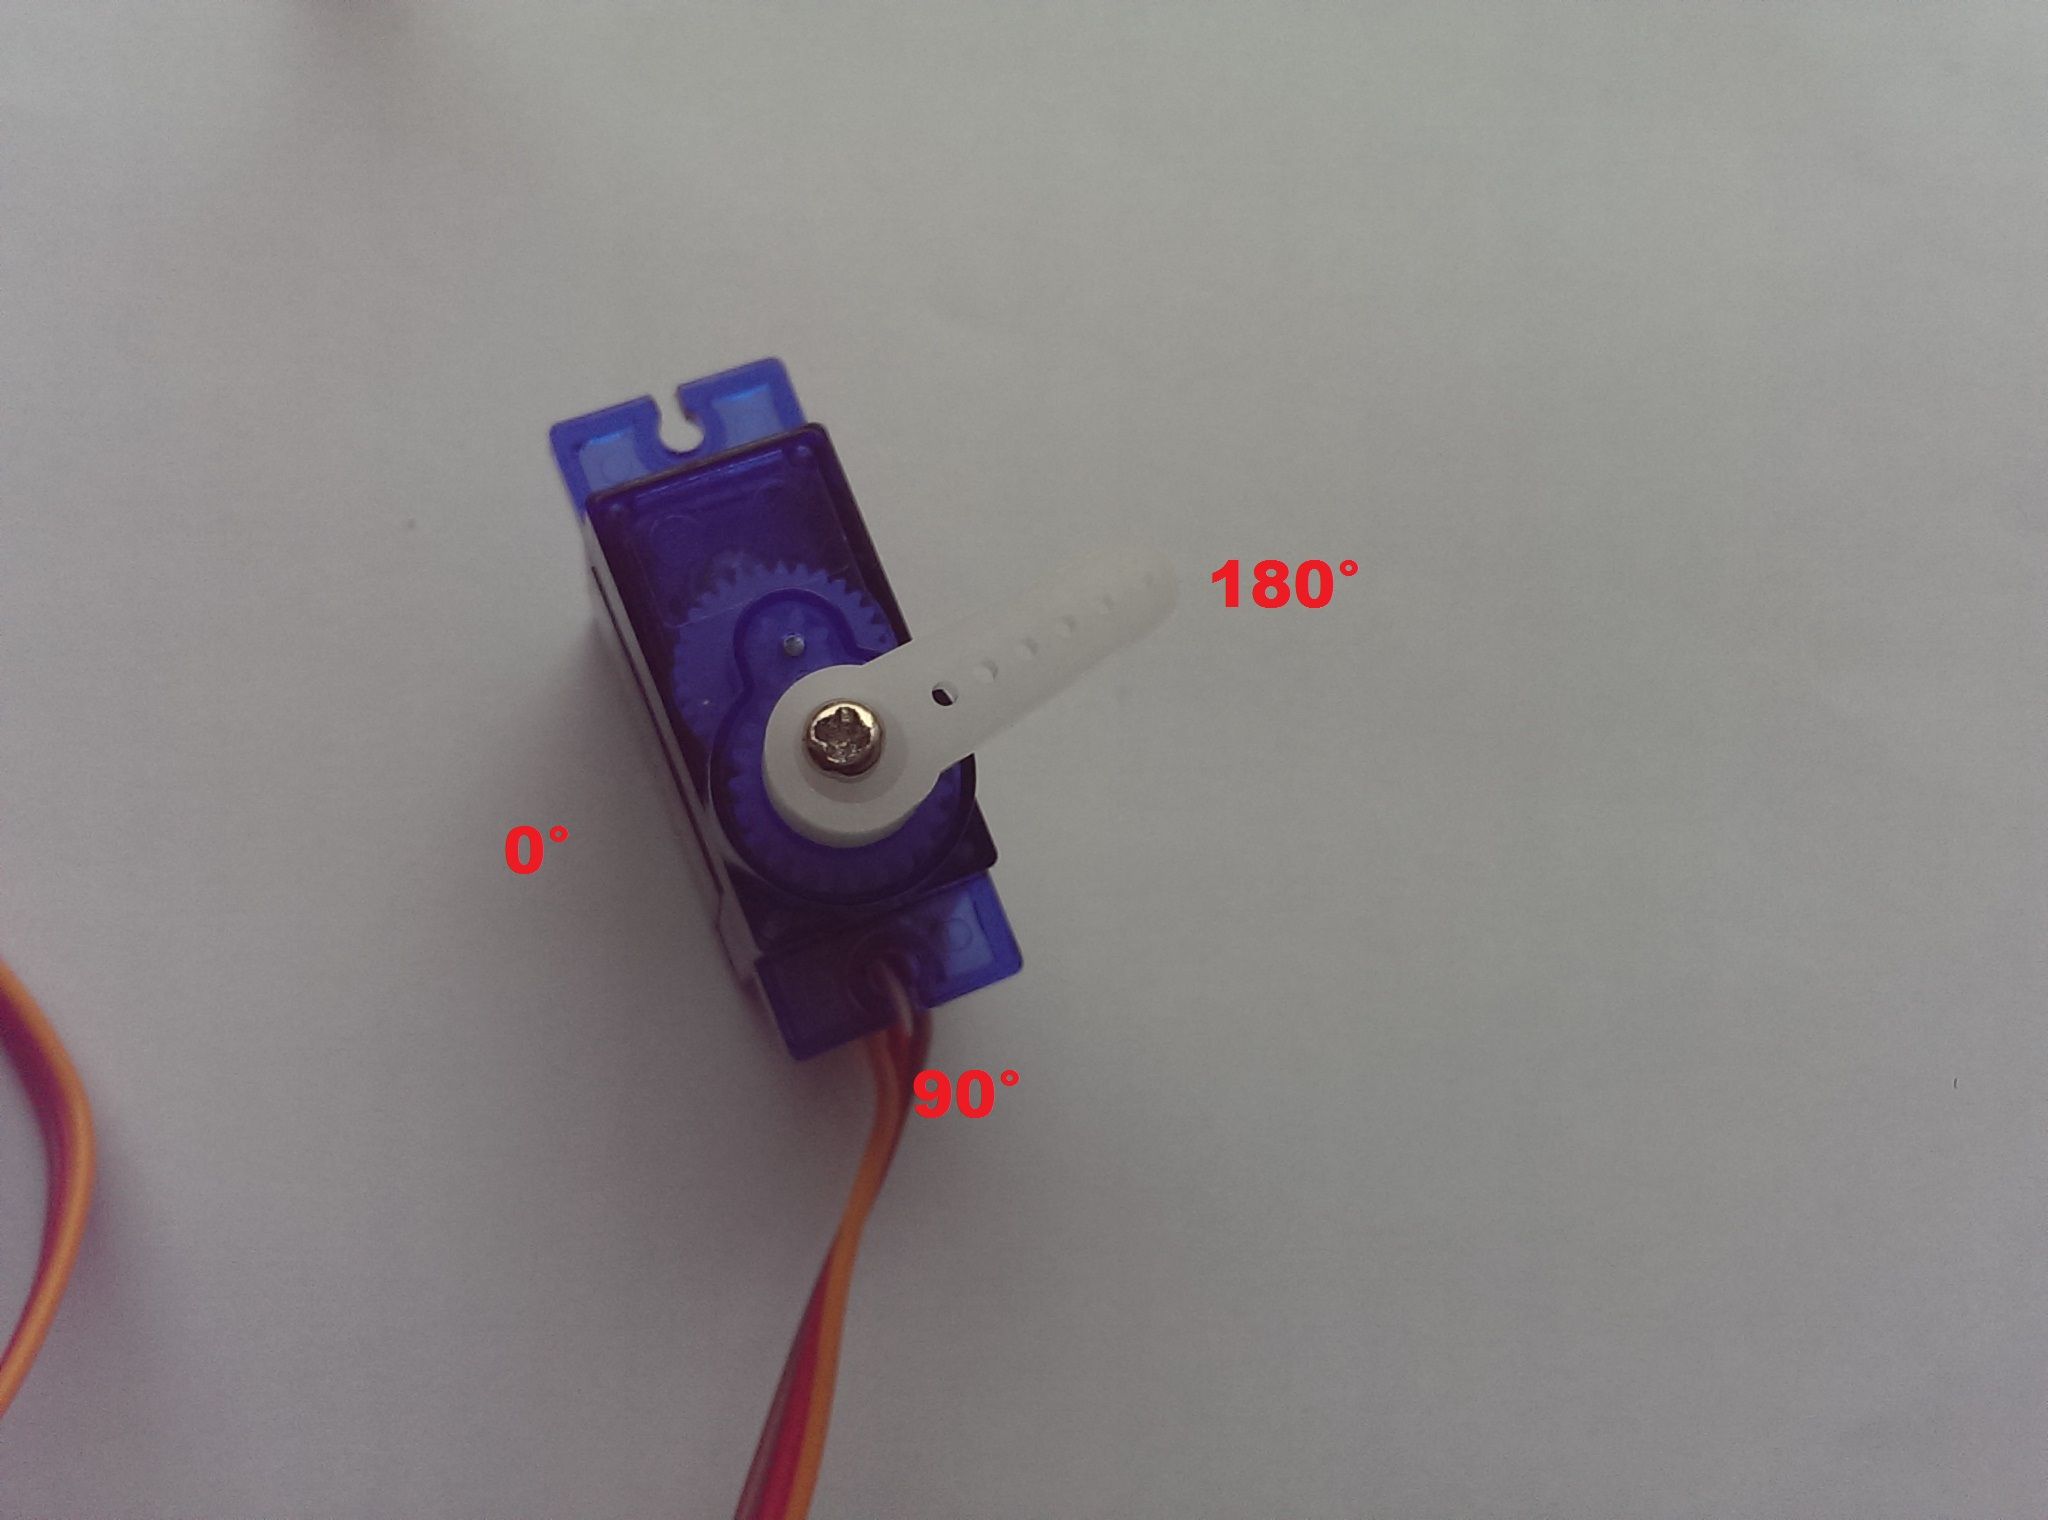
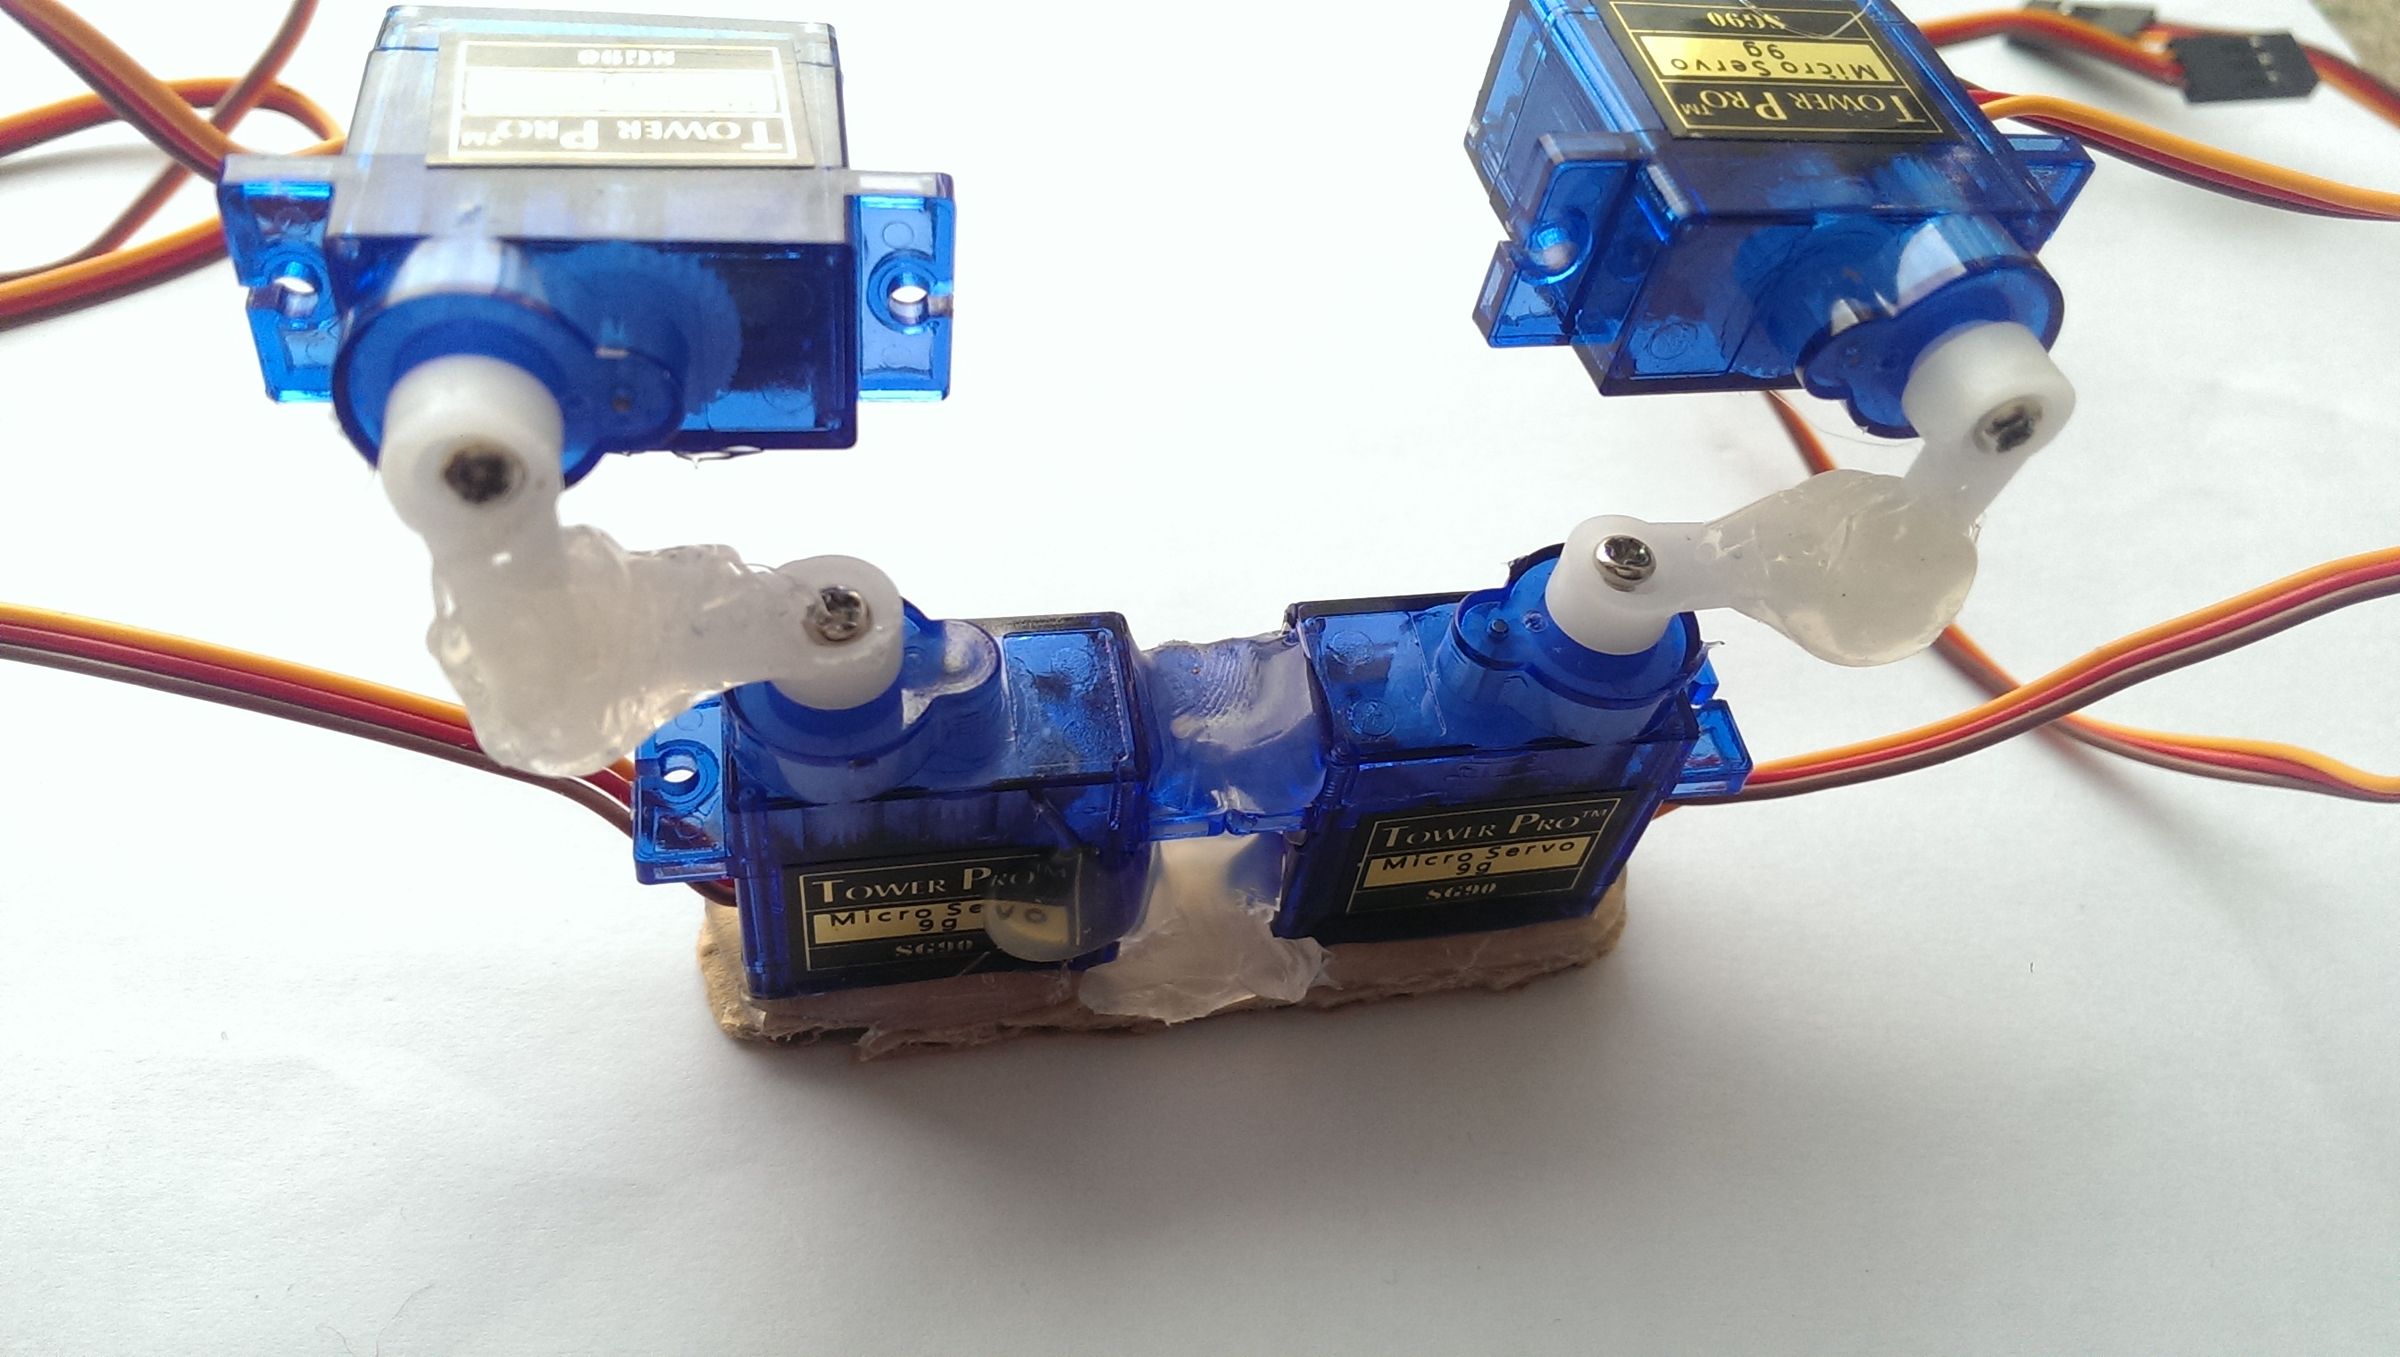
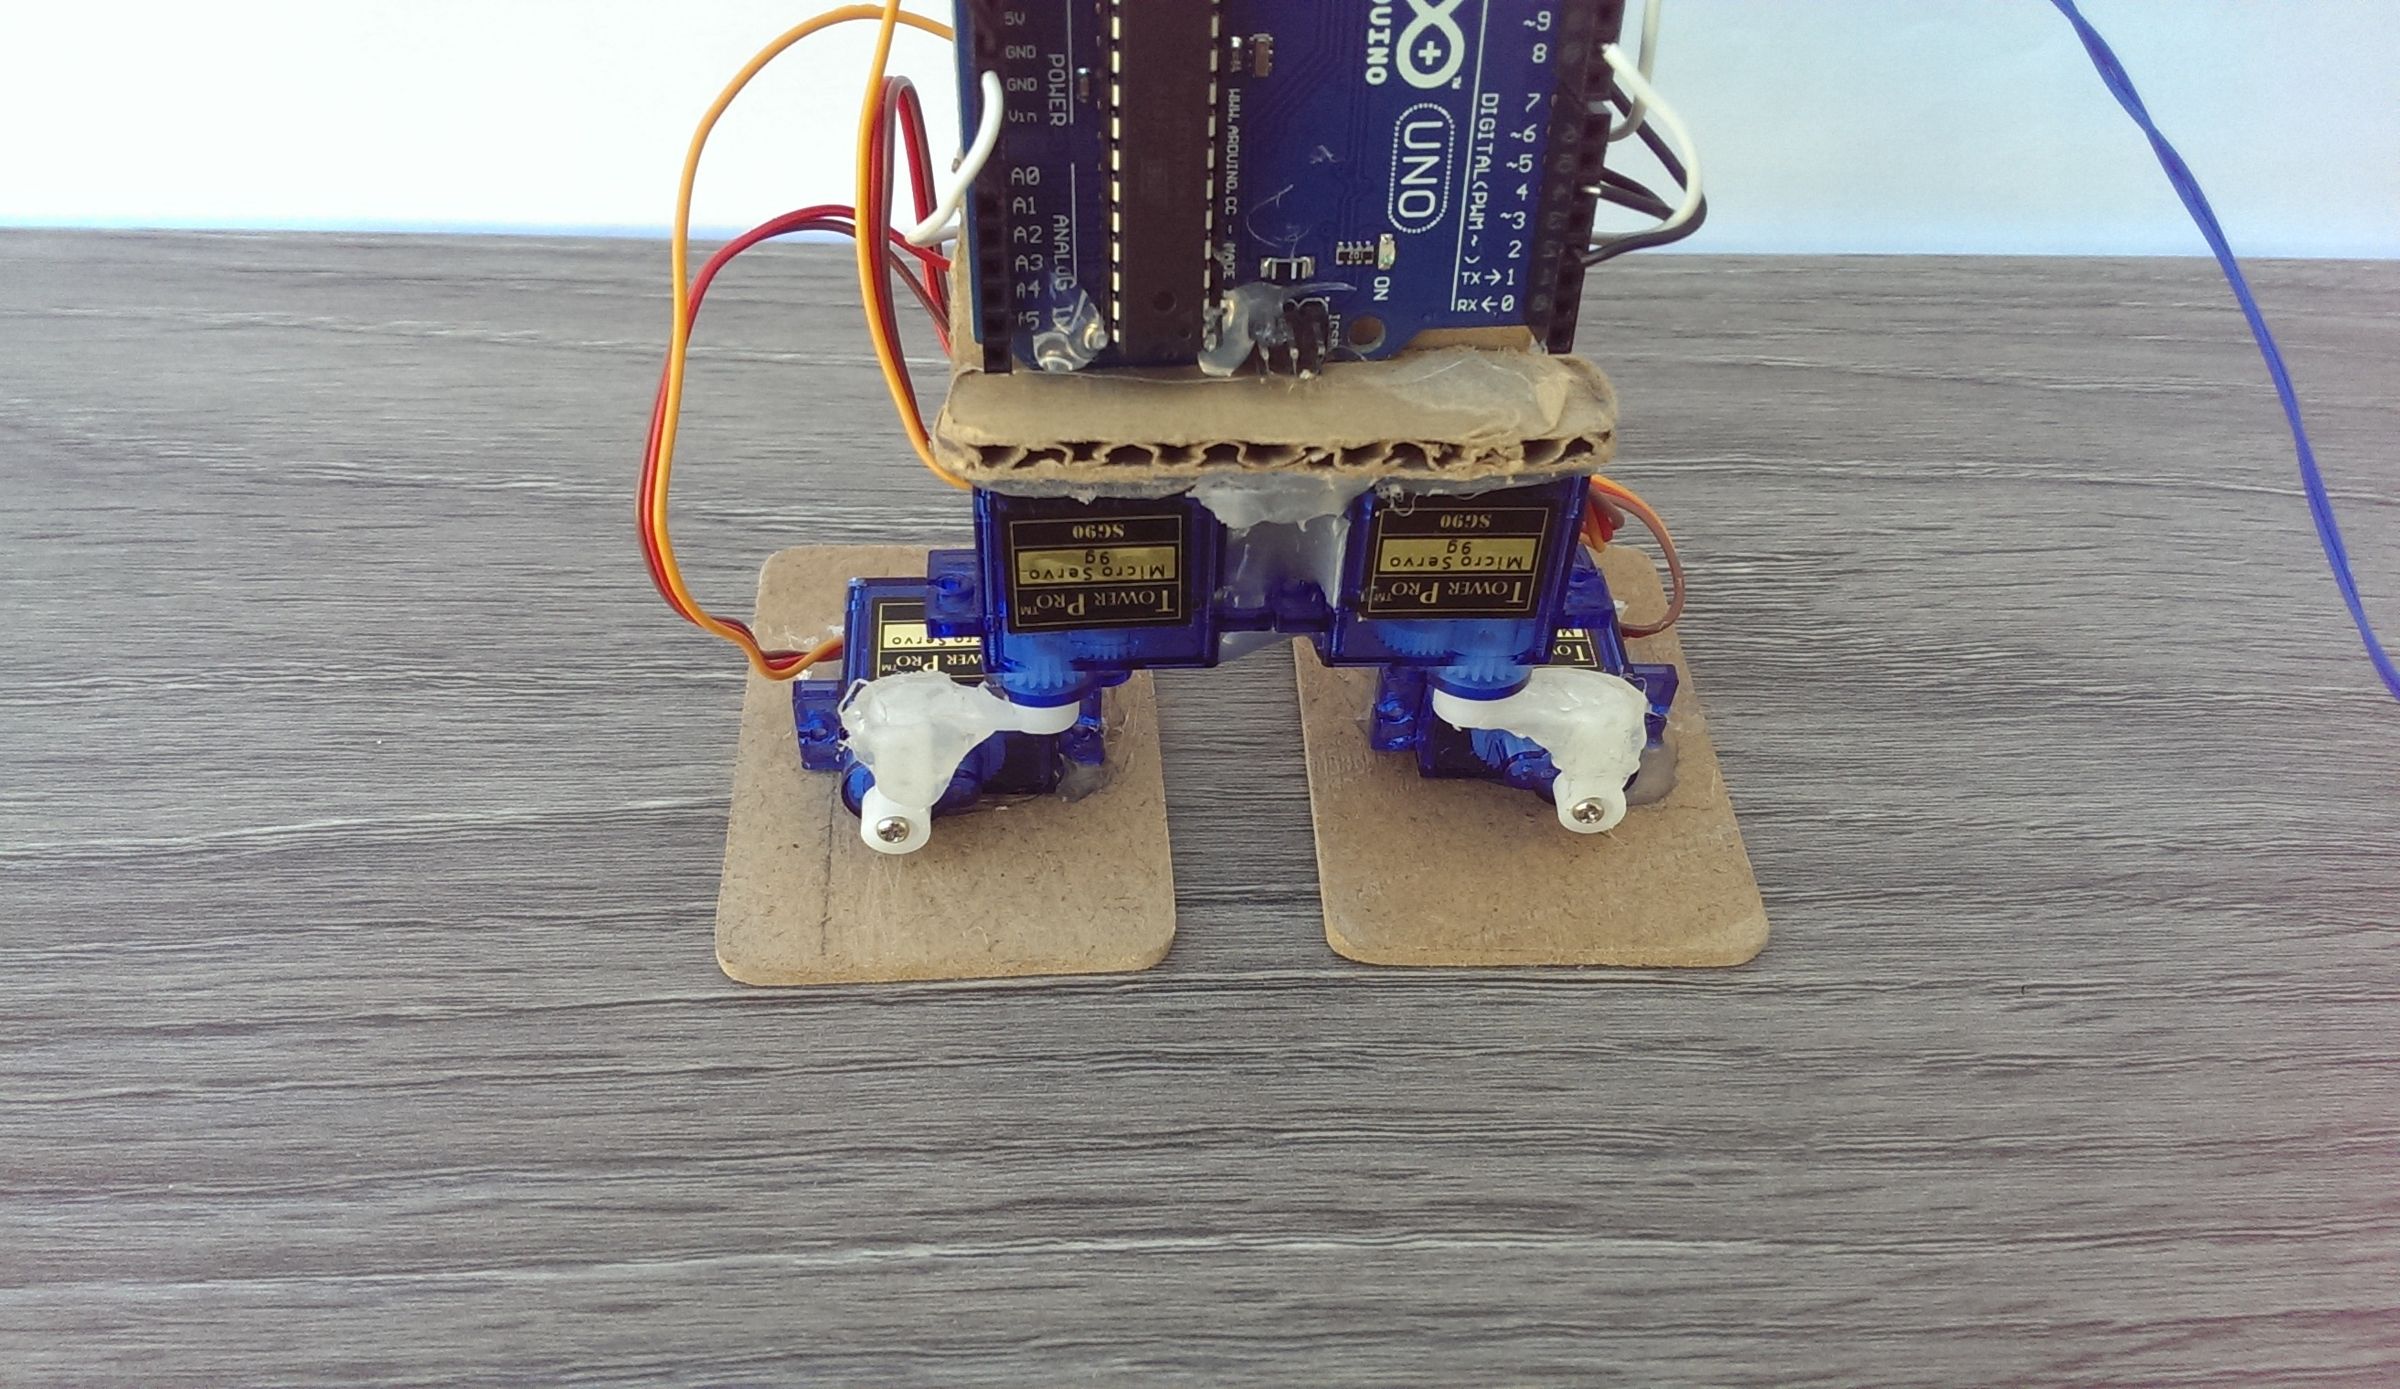
The first thing that you need to do is to attach the servo horns to the servos. Keep in mind that you can't just attach them to the servo, it has to be done properly or you will encounter problems later. Now that you have attached the horns to the servos, it is time to glue the servos together. Both the servo sets are attached in different ways so be careful while gluing them. I have attached pictures which you can use as reference to attach the servos together. Try to keep the horns are as close to 90 degrees as possible.
After that, take a piece of cardboard and glue both of the servos on it and cut extra cardboard out. One way to ensure that you do this properly is to make sure that the screw mounting part of both the servos is touching. Make sure to keep the wire part on the outside.
**Attaching the Arduino**
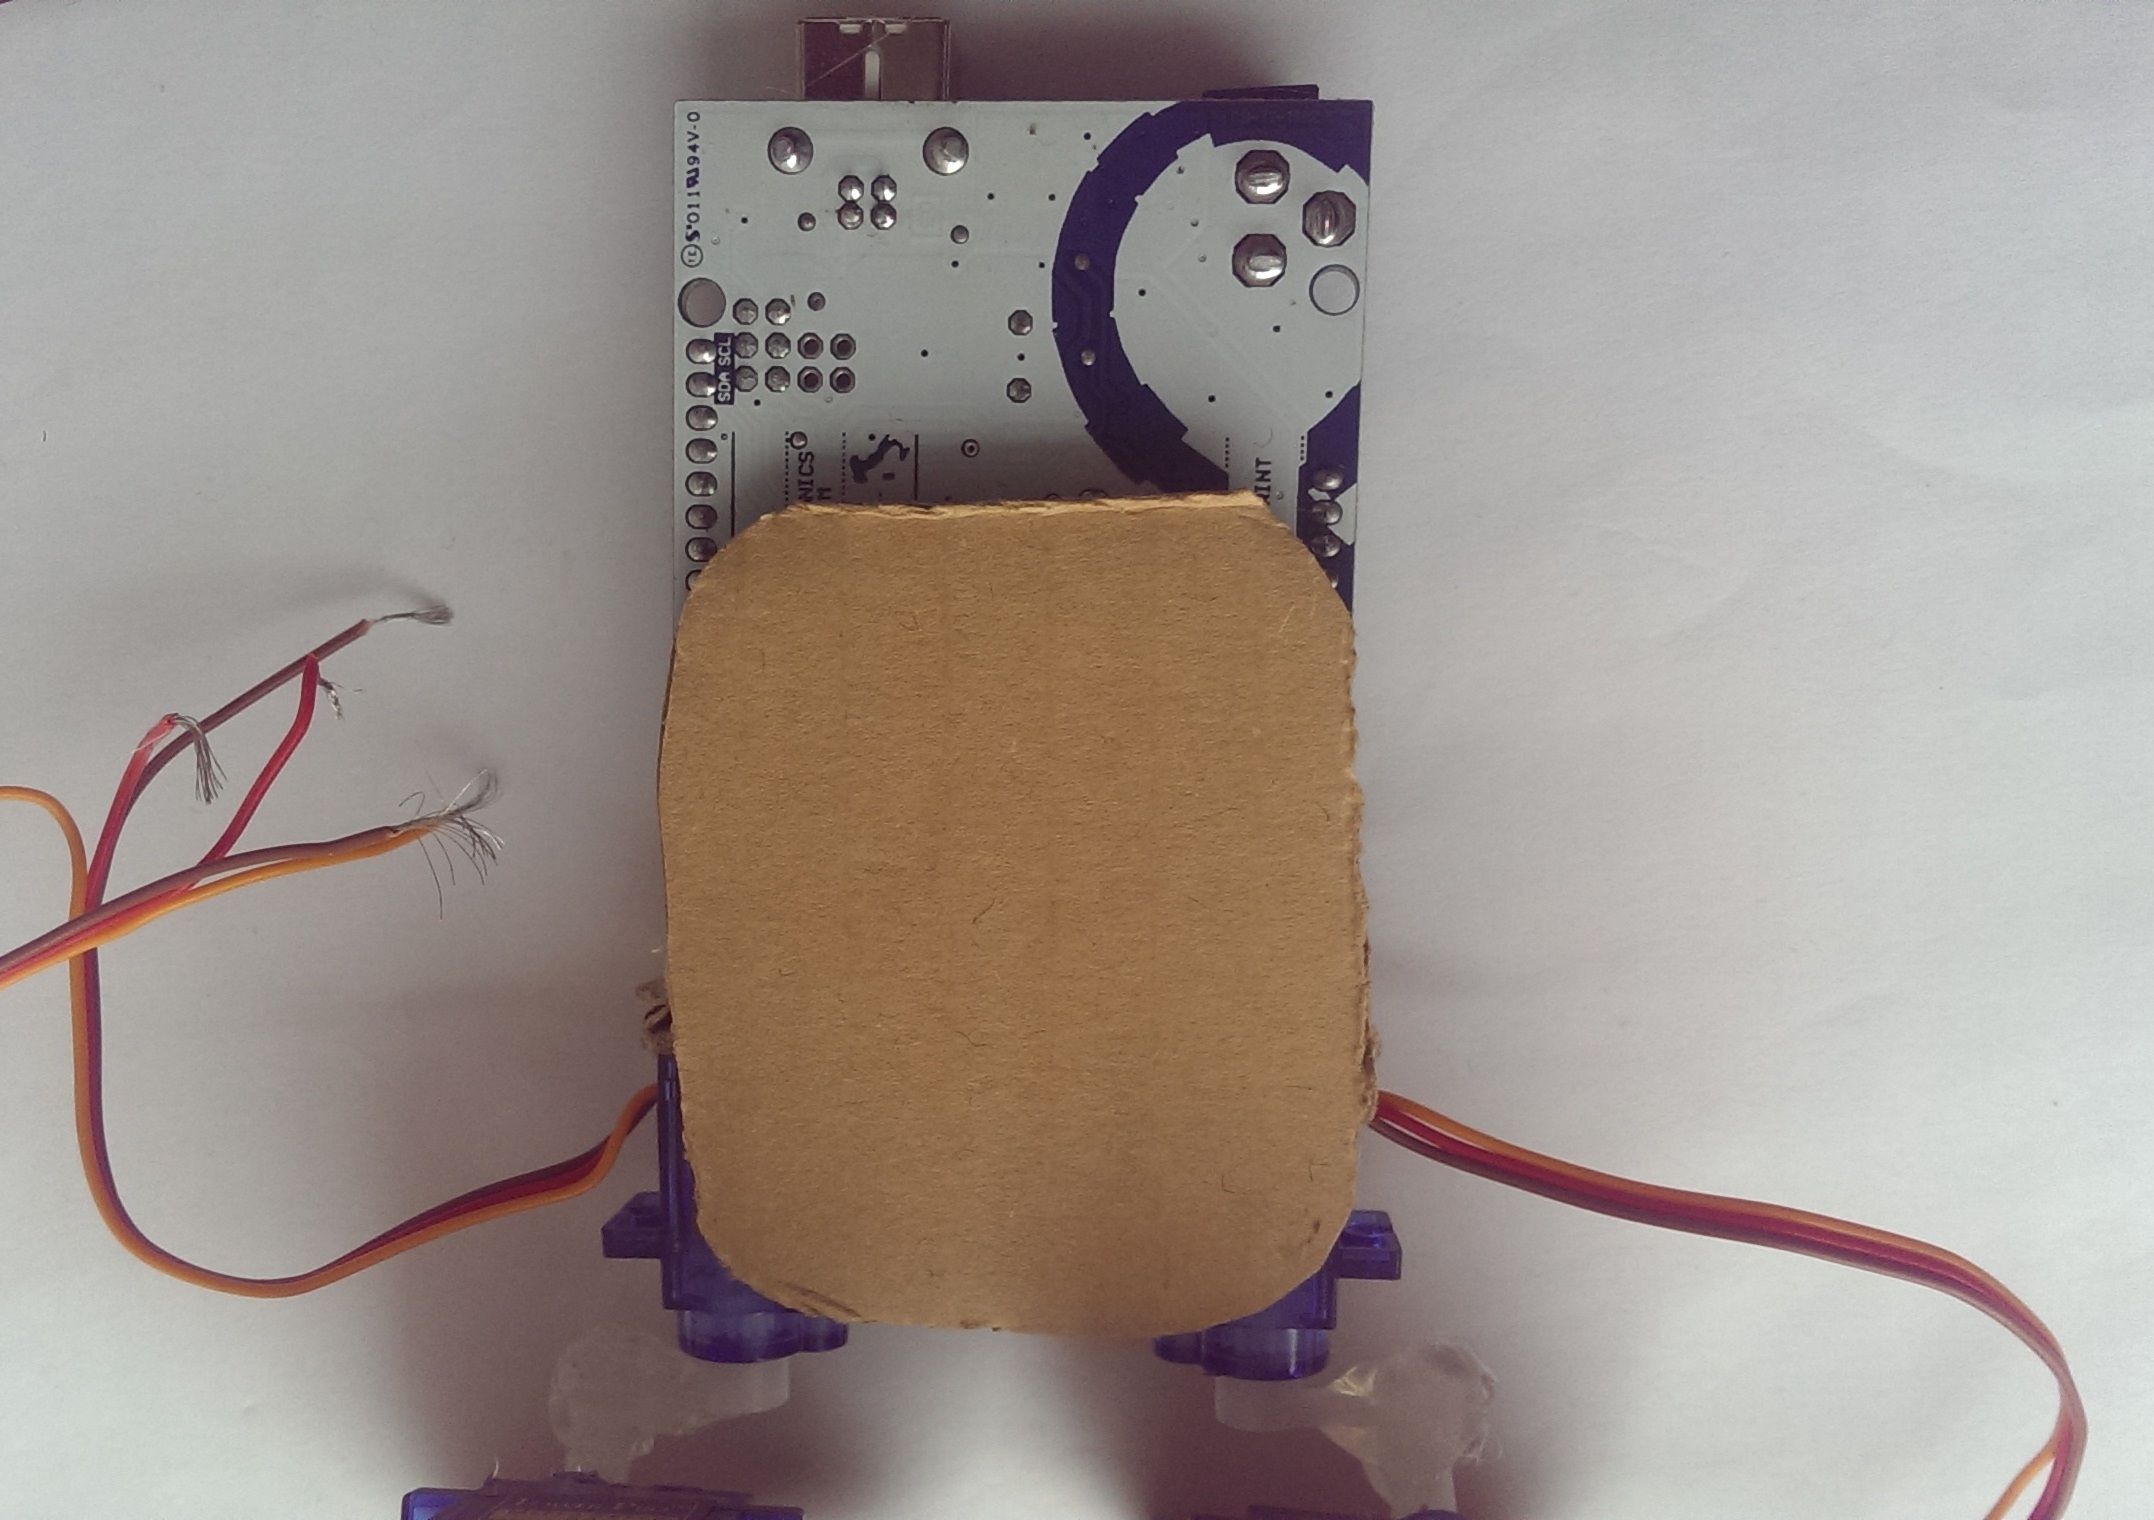
Once that is done, take a rectangular piece of cardboard (mine measured 6.4 x 5.4 cm) and hot glue it to the backside of the servos as shown in the pictures. You can round the corners to make it look a bit neater.
After that, take the Arduino and hot glue the backside of the arduino (the white side) to the cardboard as shown in the pictures. This MAY damage your Arduino (highly unlikely) so if you do this, it will be at your own risk.
The only thing left to do now (in terms of hardware) is the wiring.

**Wiring the Servos**

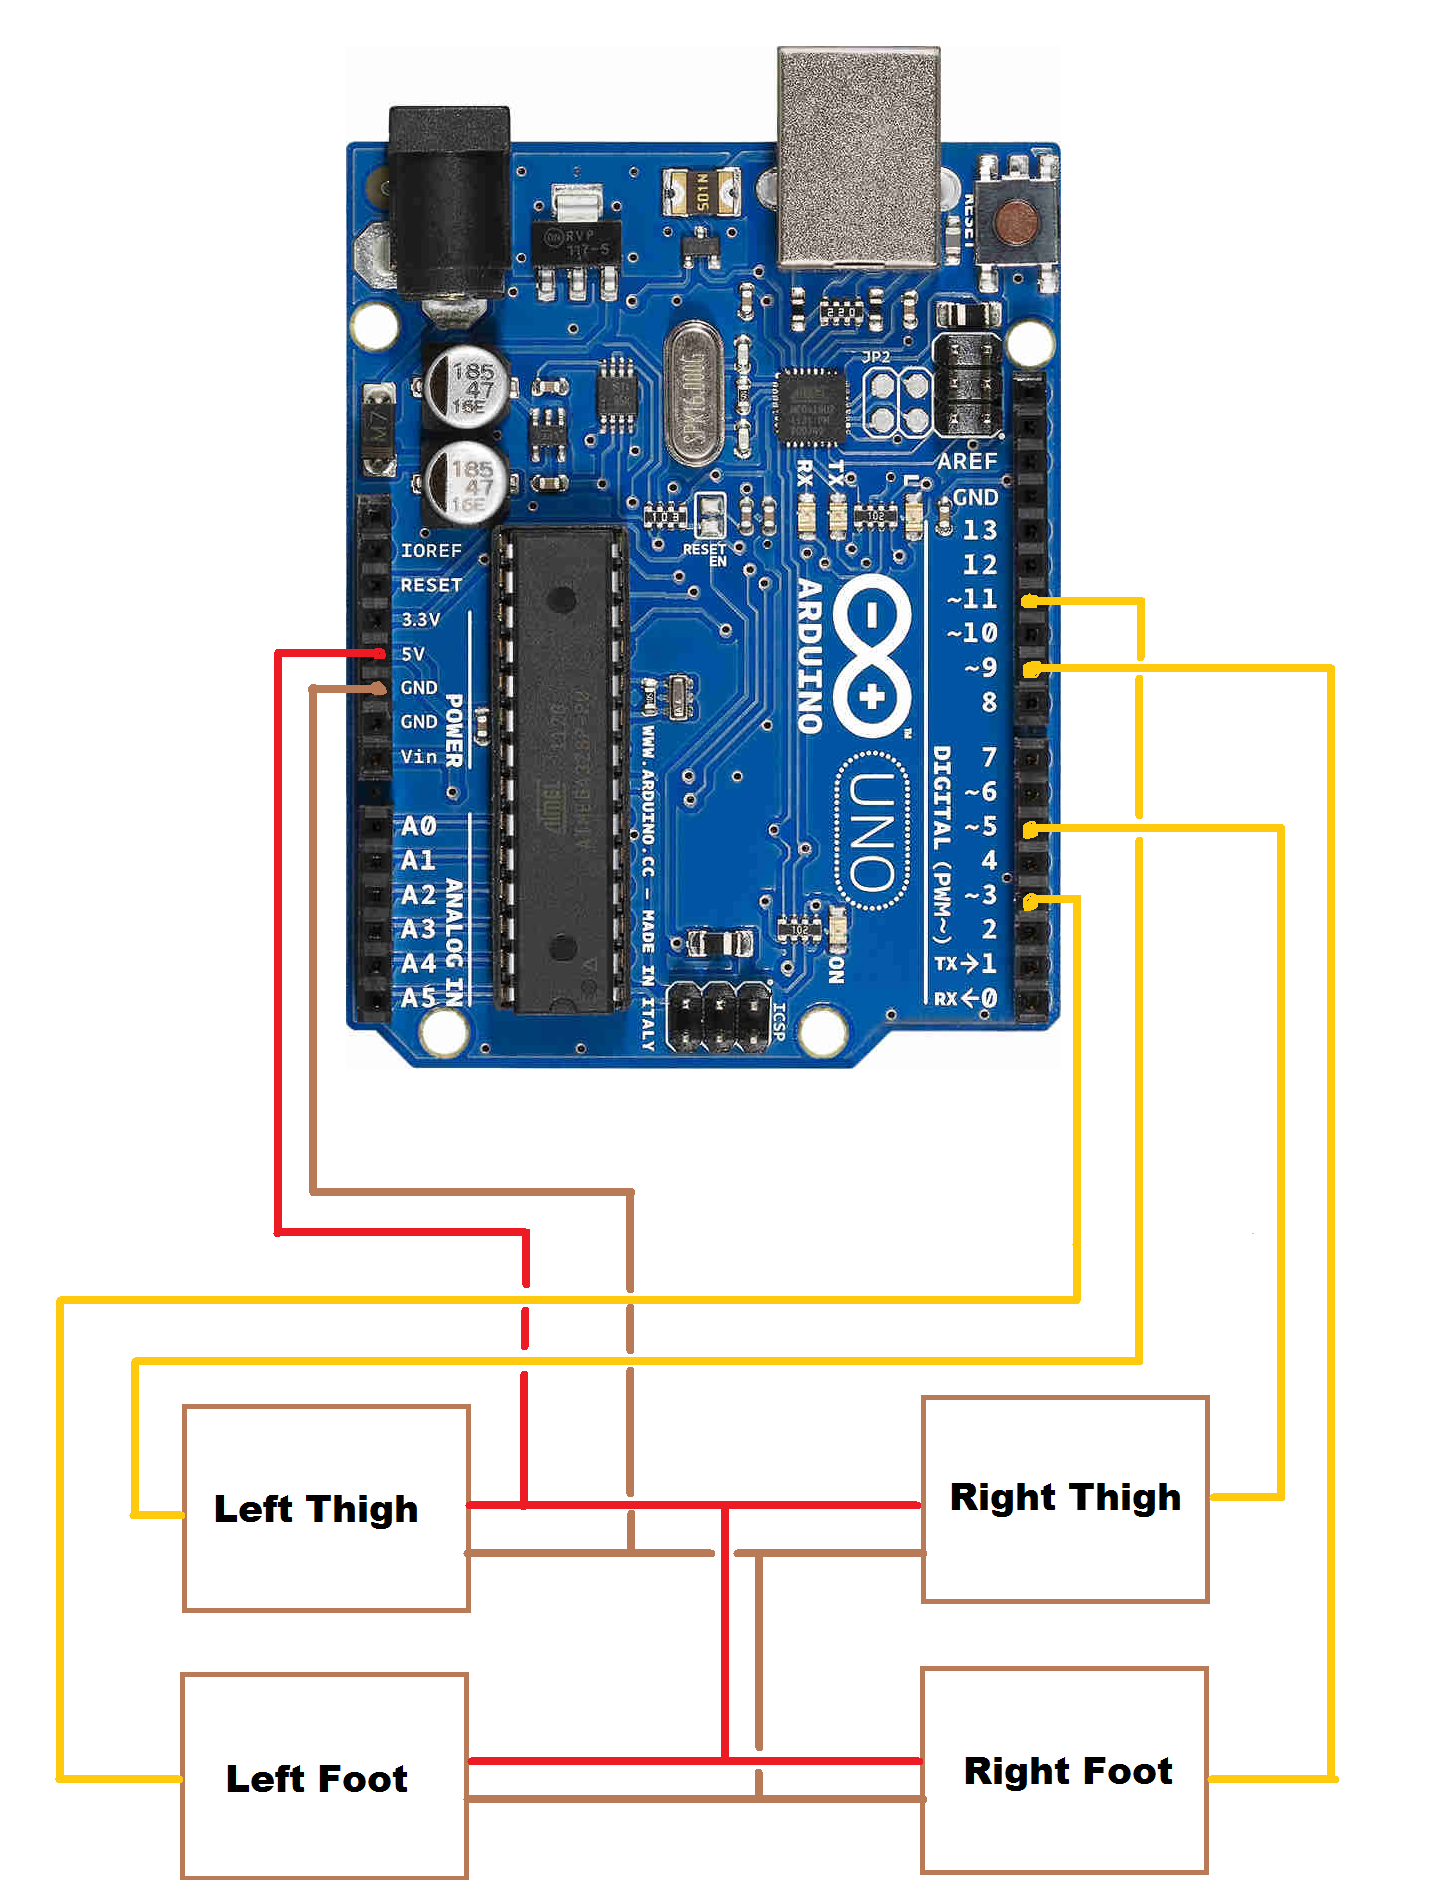
The way I have done it, it looks a bit confusing but believe me, it isn't. The red wire of the servos are positive, the brown are negative and the orange wire is the signal wire. So, all you have to do is to solder all the red wires together and then solder a stiff piece of wire to that which connects to the 5v pin of the Arduino. Then, solder all the brown wires together and attach a solid piece of wire to them. This wire will connect to the GND pin which is below the 5v pin. (Wiring diagram attached)
After that, you will be left with four orange wires or signal wires. Before soldering them to a stiff wire for connection, you have to understand the naming for the servos. Looking from the pin side of the arduino, the servo on the top right is the right thigh servo. The one below it is the right foot servo. The servo at the top left is the left thigh servo and the one below it is the left foot servo. Connect the right thigh signal wire to pin 5, the left thigh signal wire to pin 11, the left foot signal wire to pin 3 and the right foot signal wire to pin 9. Make sure that all of the signal wires are attached to the pins with a squiggly line before them (PWM pins). (Wiring diagram attached)
**Choosing Power Source**
Now comes the time to choose whether you will be powering the robot using USB power (which is inconvenient and causes occasional disturbances) or using six AA cells. I chose the latter, although it's entirely your choice what you want to do. The problem with AA cells is that they run out in a few hours. If you chose USB power, all you have to do is to connect a printer cable and power it with that First of all, you have to create the 9v power supply which is just 3 3v AA battery packs soldered to each other in series. Then, you have to wire the 9v pack to the power jack on the Arduino (the wiring diagram is attached). The power jack has 3 pins one on top, one on bottom and one on the right (pic attached). The one at the top and the one at the right are the ground pins. The negative wire of your battery pack connects to one of them. The one at the bottom is the 9v pin, the positive wire of your battery pack gets soldered to that.
Once again, soldering wires directly to that is can damage your Arduino (although its unlikely), so do this at your own risk.

**Adding Feet**
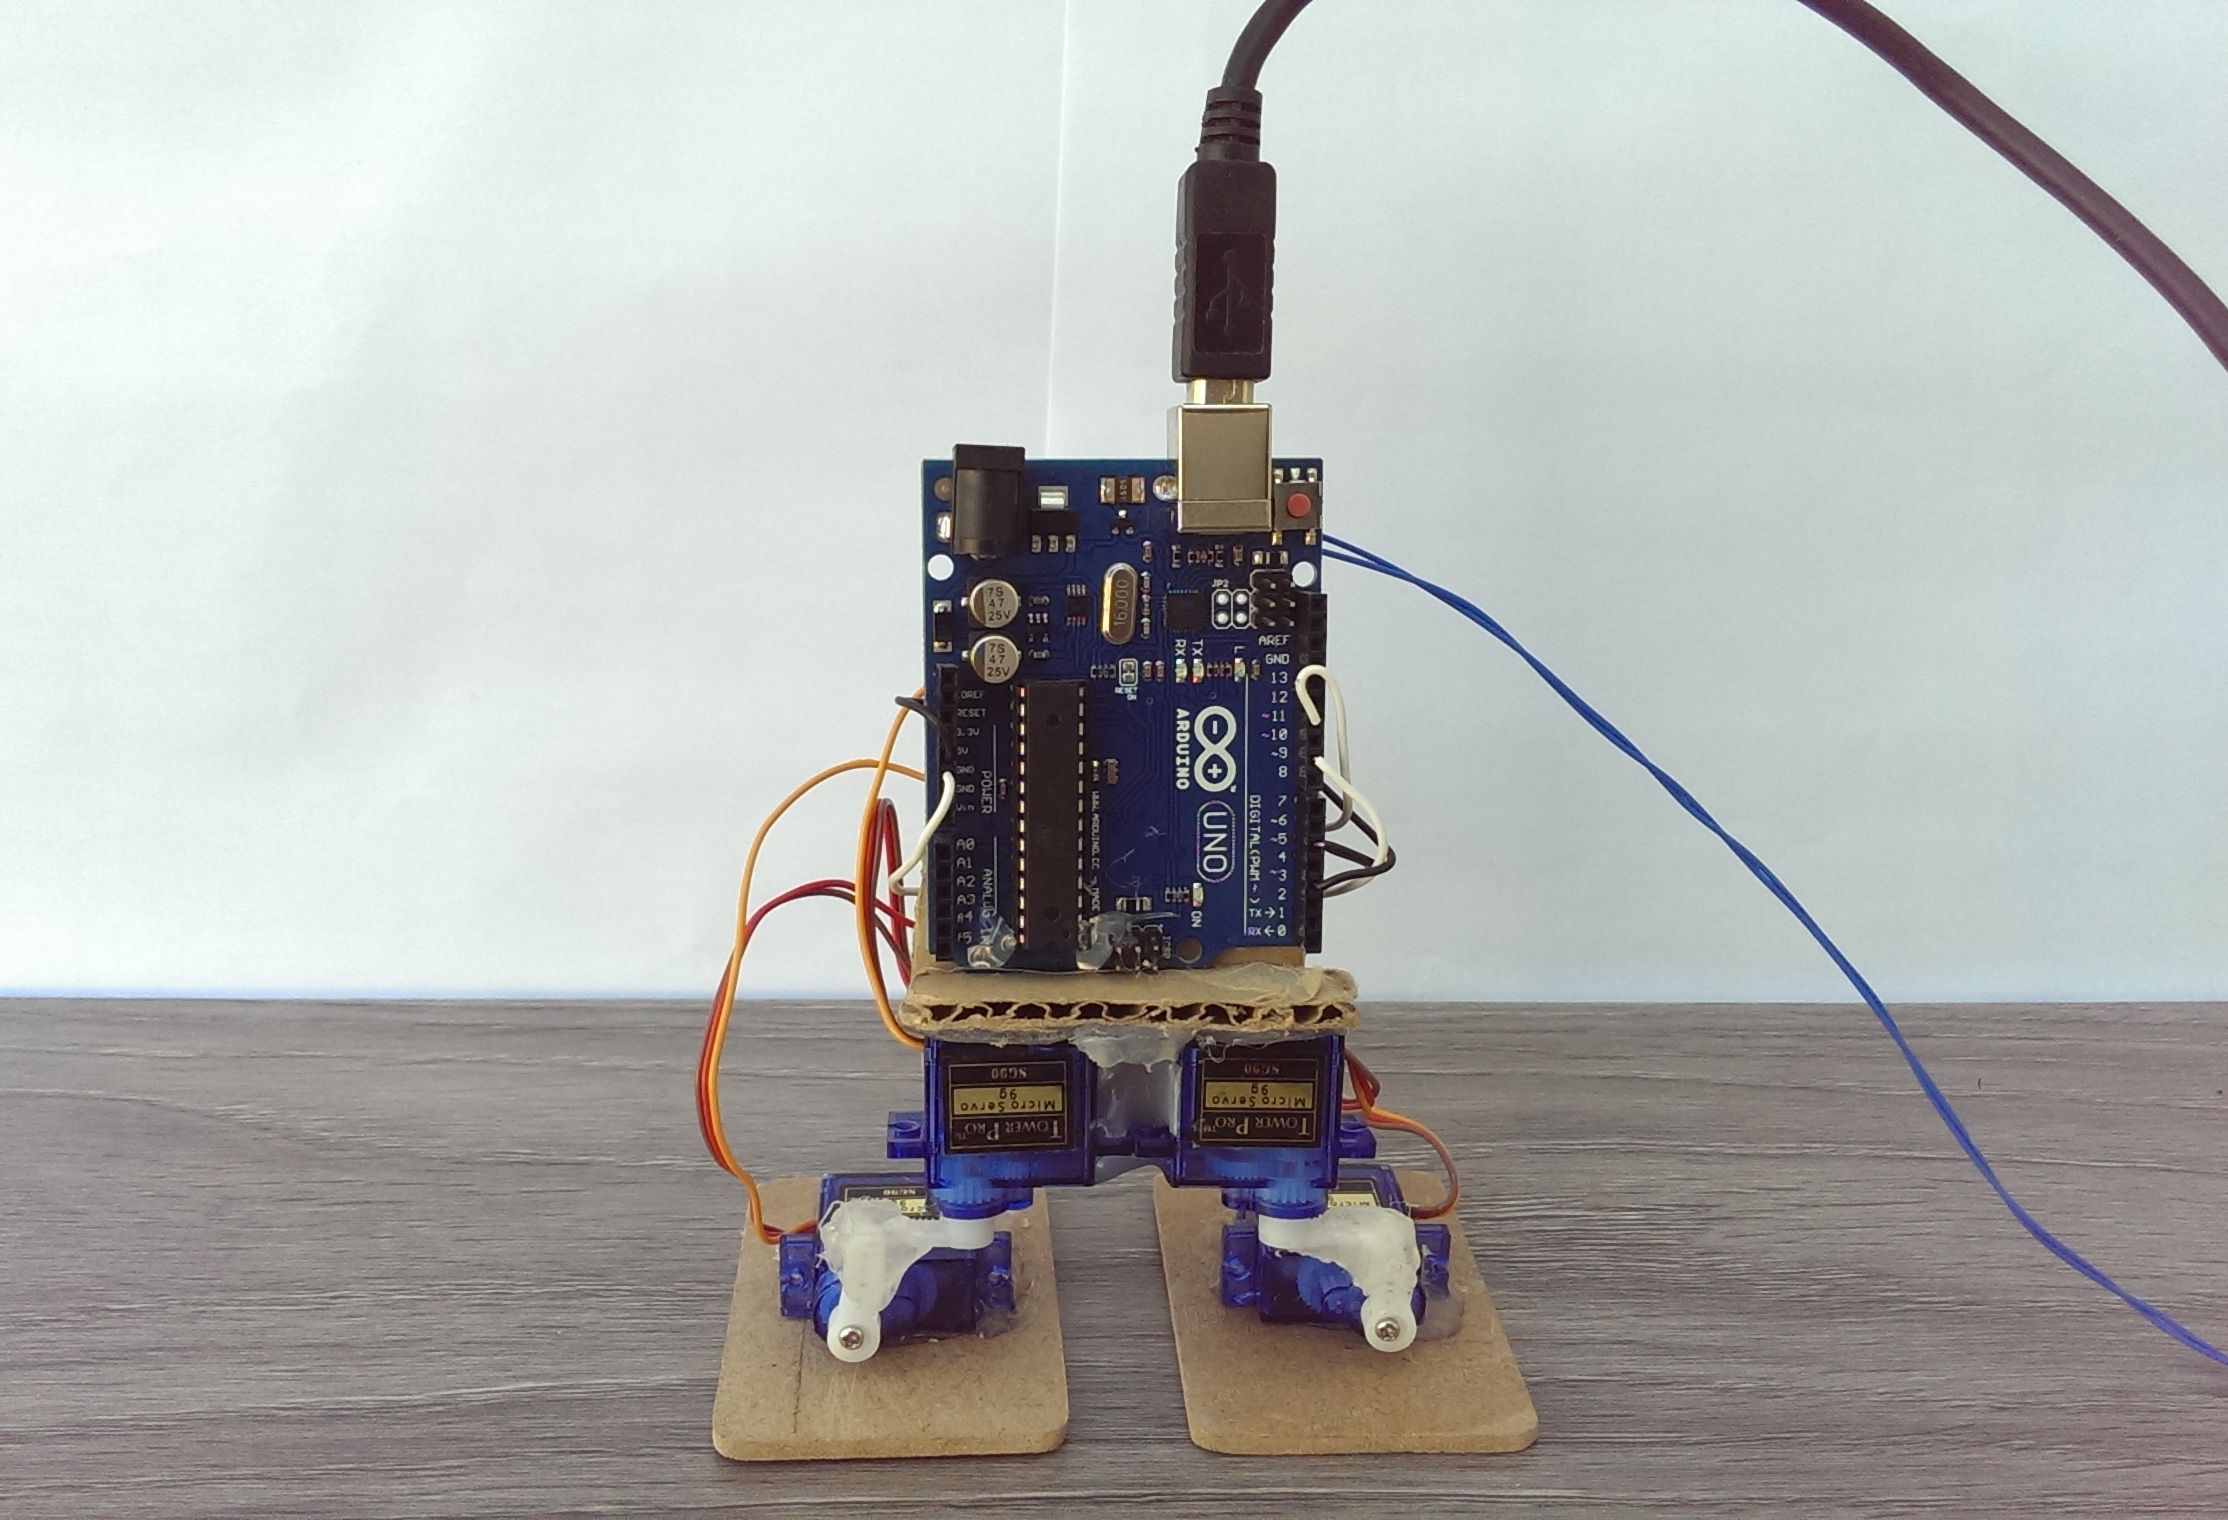
The next step is creating the robot is to attach feet to the base of the robot. For feet, I used a 6.2 x 4.6 cm piece of thin sheet wood for the feet. At first, I had used cardboard but that was very floppy and unsuitable so I opted for sheet wood. All you have to do now is to hot glue the wood onto the feet servos of the robot. Try to glue the servos at the exact middle of the feet.

** Programming** (dance1)
#include <Servo.h> Servo rightfoot; Servo rightthigh; Servo leftfoot; Servo leftthigh; int pos = 0; int pos1 = 0; void setup() { rightfoot.attach(9); rightthigh.attach(5); leftfoot.attach(3); leftthigh.attach(11); leftfoot.write(10); leftthigh.write(90); rightthigh.write(105); rightfoot.write(180); }
void loop() { for(pos = 85; pos < 130; pos += 1) { rightthigh.write(pos);
delay(15);
}
for(pos = 130; pos>=85; pos-=1)
{
rightthigh.write(pos);
delay(15);
}
for(pos1 = 50; pos1 < 95; pos1 += 1)
{
leftthigh.write(pos1);
delay(15);
}
for(pos1 = 95; pos1>=50; pos1-=1)
{
leftthigh.write(pos1);
delay(15);
} } ** ( dance2))**
#include <Servo.h> Servo rightfoot; Servo rightthigh; Servo leftfoot; Servo leftthigh; void setup() { rightfoot.attach(9); rightthigh.attach(5); leftfoot.attach(3); leftthigh.attach(11); }
void loop() { leftfoot.write(10); leftthigh.write(90); rightthigh.write(105); rightfoot.write(180); delay(1000); leftfoot.write(17); delay(25); leftthigh.write(95); delay(25); rightthigh.write(107.5); delay(25); leftfoot.write(24); delay(25); leftthigh.write(100); delay(25); rightthigh.write(110); delay(25); leftfoot.write(31); delay(25); leftthigh.write(105); delay(25); rightthigh.write(112.5); delay(25); leftfoot.write(38); delay(25); leftthigh.write(110); delay(25); rightthigh.write(115); delay(25); leftfoot.write(45); delay(25); leftthigh.write(115); delay(25); rightthigh.write(117.5); delay(25); leftfoot.write(52); delay(25); leftthigh.write(120); delay(25); rightthigh.write(120); delay(25); leftfoot.write(59); delay(25); leftthigh.write(125); delay(25); rightthigh.write(122.5); delay(25); leftfoot.write(66); delay(25); leftthigh.write(130); delay(25); rightthigh.write(125); delay(25); leftfoot.write(73); delay(25); leftthigh.write(135); delay(25); rightthigh.write(127.5); delay(25); leftfoot.write(80); delay(25); leftthigh.write(140); delay(25); rightthigh.write(130); delay(1000);
}
** Final walk**
#include <Servo.h> Servo rightfoot; Servo rightthigh; Servo leftfoot; Servo leftthigh; int pos; void setup() { rightfoot.attach(9); rightthigh.attach(5); leftfoot.attach(3); leftthigh.attach(11); leftfoot.write(10); leftthigh.write(90); rightthigh.write(100); rightfoot.write(180); }
void loop() { delay(700); leftfoot.write(20); delay(300); leftfoot.write(30); delay(300); leftfoot.write(40); delay(300); leftfoot.write(50); delay(300); leftfoot.write(60); delay(700); rightfoot.write(160); delay(700); rightfoot.write(150); delay(700); rightfoot.write(140); delay(700); rightfoot.write(130); delay(1000); leftfoot.write(35); delay(500); leftfoot.write(10); delay(700); rightthigh.write(90); delay(700); rightthigh.write(80); delay(700); leftthigh.write(65); delay(700); rightthigh.write(70); delay(700); rightfoot.write(140); delay(500); rightfoot.write(150); delay(500); rightfoot.write(160); delay(500); rightfoot.write(170); delay(500); rightfoot.write(180); delay(700); rightthigh.write(100); delay(700); rightfoot.write(150); delay(300); rightfoot.write(140); delay(300); rightfoot.write(130); delay(300); rightfoot.write(120); delay(700); leftfoot.write(20); delay(300); leftfoot.write(30); delay(300); leftfoot.write(40); delay(300); leftfoot.write(50); delay(1200); leftthigh.write(80); delay(700); leftthigh.write(90); delay(700); leftthigh.write(100); delay(700); rightfoot.write(150); delay(700); rightfoot.write(180); delay(700); leftfoot.write(40); delay(300); leftfoot.write(30); delay(300); leftfoot.write(20); delay(300); leftfoot.write(10); delay(300); leftfoot.write(10); delay(300); leftthigh.write(90); delay(300); rightthigh.write(100); delay(300); rightfoot.write(180); }
Reviews(10)
5.0
66%
4.0
33%
3.0
16%
2.0
8%
1.0
6%
No reviews yet. Be the first to add a review!